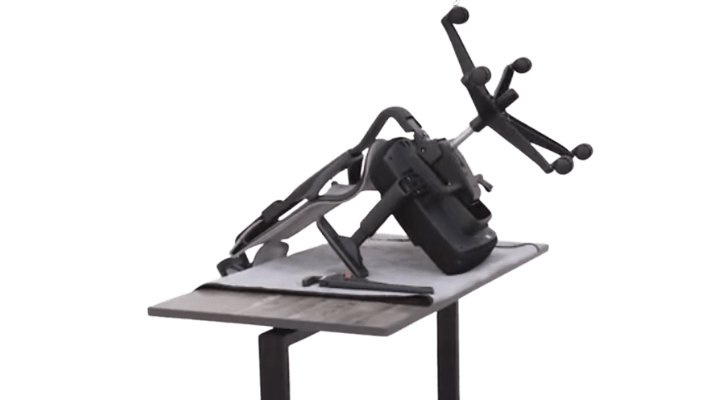
Office chairs come in numerous shapes and sizes. Each one is more promising than the other. The use of these chairs is not limited to just offices, and for that very reason, sometimes they might have to be moved from one location to another.
You may have to disassemble your office chair to save space when moving or to replace some worn out parts. The fancier the chair, the more difficult it will be to disassemble, and costly too. If you threw away the assembly manual as soon as you got your office chair, then the following step by step guide will help you take apart your office chair.
[su_panel color=”#000000″ border=”2px solid #bfc9ae” padding=”10″ shadow=”0px 1px 100px #eeeeee”]1. Always Remove The Wheels First
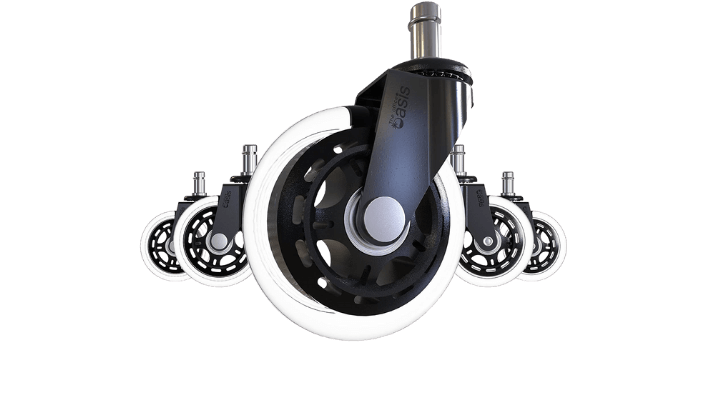
Most office chairs come with wheels, but if yours does not, then you can skip this step. The wheels provide mobility to the chair and allow it to move around. This movement may be haphazard when dismantling the chair, so it is always recommended to remove them first.
Acquire a screwdriver and a pry bar. The pry bar is unnecessary but may come in handy when the caster needs to be pulled out. Position the chair’s wheel towards you and hold it down in place with one hand. The wheels can be removed one by one, or you can remove the whole unit. The wheels come with small levers; if they are present, then click on them to allow wheels to detach themselves from the chair.
[/su_panel] [su_panel color=”#000000″ border=”2px solid #bfc9ae” padding=”10″ shadow=”0px 1px 100px #eeeeee”]2. Removing The Starbase
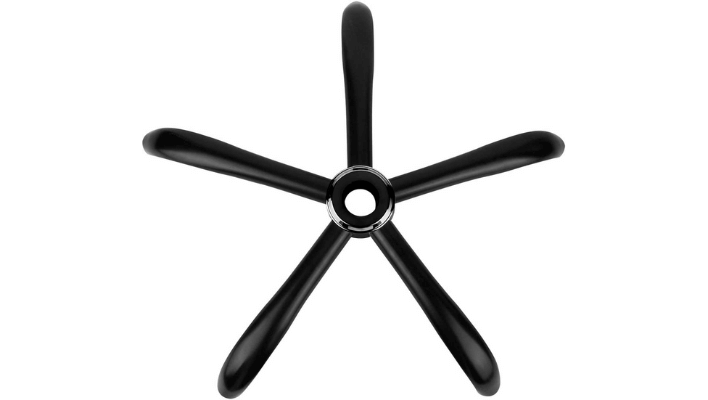
The removal of the starbase is a tricky part. It will require a hammer, a 2 x 4 piece of wood, and a friend’s assistance. Place your office chair upside down and ask your friend to hold the starbase. Meanwhile, you should place the wood above the gas lift. Hit the wood with the hammer gently and keep increasing the force until the pressure on the base is subsided and it is released.
Ensure that you do not hit the gas lift as it is a highly compressed gas that may burst open. At this point, if you are someone who is not moving but instead just wishing to replace some worn-out parts, then this is your chance. The removal of the chair base can allow you to add new parts and replace the worn-out ones.
It will not only save you money but can also allow you to customize your chair to your liking. You can also remove the starbase and replace it with one that is more functional. It can come from the same chair, or you can buy a new one.
[/su_panel] [su_panel color=”#000000″ border=”2px solid #bfc9ae” padding=”10″ shadow=”0px 1px 100px #eeeeee”]3. Removing The Gas Cylinder (Optional)
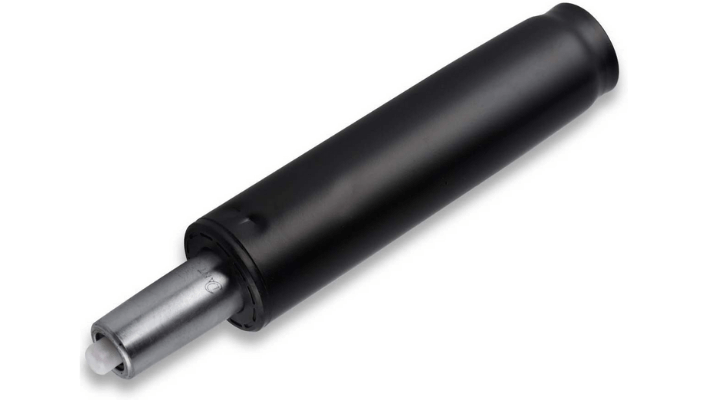
If your office chair has a gas cylinder, then it is pretty easy to remove one. You will need an adjustable wrench/spanner, screwdriver, and mallet. Using the wrench, remove the bolts that hold the piece under the chair. After unscrewing, take off the upper part and set it aside. Ask a friend for assistance or hold the gas cylinder upright by yourself.
Gently hit the gas cylinder with the rubber mallet and increase force gently with each hit. Keep repeating this process until the gas cylinder comes out. Alternatively, you may also heat the rubber mallet and then repeat the whole process. You can do so by holding it over stop, blowtorch, or running it under hot water.
Make sure that you use gloves so that you can protect yourself. Sometimes the gas cylinders may refuse to come out. Their removal requires a special tool that often comes with the chair. You may also buy it separately.
[/su_panel] [su_panel color=”#000000″ border=”2px solid #bfc9ae” padding=”10″ shadow=”0px 1px 100px #eeeeee”]4. Detaching The Armrests
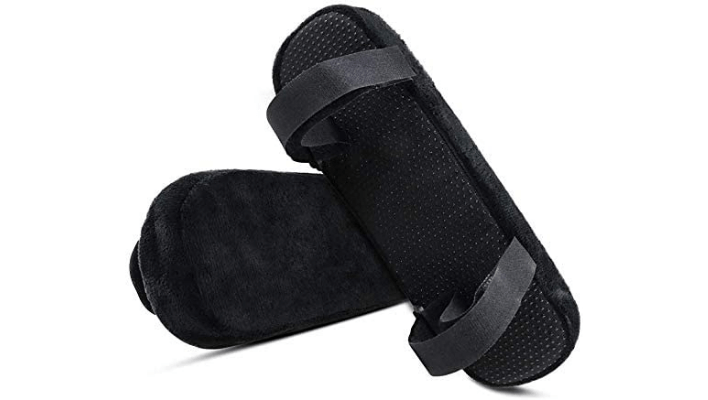
The armrests are one of the most primary and most prominent parts of an office chair. It is essential to remove and get rid of them early on so that they do not come in the way when detaching smaller parts. Start by checking whether the armrests are removable or not. Some office chairs do not allow the removal of armrests.
Removing them by force may damage your office chair. After confirming that the armrests are removable, look over at the type of screws used to attach them in place. Acquire a flat-head or cross-head screwdriver and use it to loosen the screws. Slowly and gently remove the armrests from the office chair to avoid any damage.
5. Removing The Chair Body
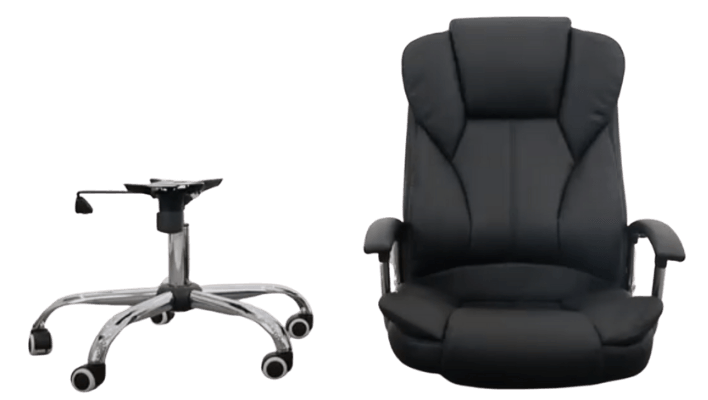
The chair body encompasses the seat and back of the chair. You will have to successfully separate these two and place them along with the other parts. This step is quite tricky. You will need to look if the office chair has any hydraulics attached to it. These provide lift to your chair, and if they are not present, you can simply pull away from the back of the chair.
Make sure that you unbolt the necessary screws before doing so, or you may end up damaging your chair. If these hydraulics are present, then look for the type of screws that are used to attach them. Acquire the specific screwdrivers and unbolt the hydraulics. Gently remove them and store them accordingly. Unbolt the screws that are holding the back of the chair and pull it away gently.
[/su_panel] [su_panel color=”#000000″ border=”2px solid #bfc9ae” padding=”10″ shadow=”0px 1px 100px #eeeeee”]6. Storing The Screws
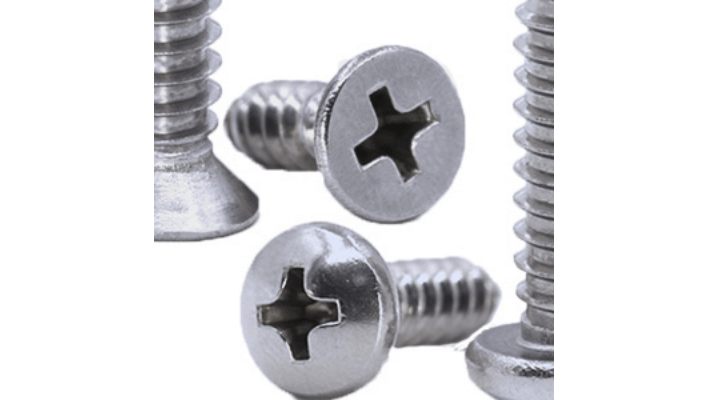
It is essential that you do not lose any screws that hold your chair together. Use Ziploc bags and label them accordingly, so when it comes to assembling your chair again, you will have all materials labeled and ready to go. In case you lose some of the screws, you can order them from the company that manufactured the chair.
[/su_panel]What chair to buy?
Office chairs that allow you to assemble and disassemble them at your own expense are often the best kind. Not only do they carry all the necessary parts, but they also allow you to add in more attachments so that the chair is suited more to your comfort. The prolonged sitting hours on an office chair results in annoying chronic back pain that can affect your daily life. In this case, you will need the best office chair for long hours 2024.
An office chair that allows you to add extra pieces into it will help you adjust your posture and get rid of this back pain. You can also occasionally disassemble the chair apart and either oil the parts or substitute for new ones. You do not have to buy a new chair just because a wheel broke. It will save you time and money.
Also, it gives you the added benefit of allowing you to move the chair whenever and wherever. Once you learn to disassemble, you do not have to spend any more money hiring someone that will take apart the chair. You can do it yourself.
Conclusion
Following this simple guide will allow you to disassemble your chair without any hassle. The whole process is quite simple and is only made complex by the manufacturers to bag more money. You can also follow this guide if you wish to replace or add new attachments or pieces to your chair.
Make sure that you acquire all the necessary tools first and have labeled compartments to store the attachments of your office chair accordingly. Rushing through the process will make it more difficult and may damage essential components of your chair. This damage may very well cost more than hiring someone for disassembly or the whole chair. It is essential to be patient and follow each step slowly.
FAQs
How do I keep track of all the small hardware?
Bag them as you are disassembling the chair. It will make it easier to keep track of the disassembly as well as acquiring the materials when it comes to the assembling of the chair again.
Can the gas cylinder explode? How do I avoid it?
The gas cylinder is filled with highly compressed gas. The pressure inside it is enough to cause a hazardous explosion. It is essential that you start off by hitting it gently. Slowly increase the force applied until it detaches.
Do I remove the wheels individually or the whole unit?
It is up to you and the model of the chair you are working with. It is recommended that you remove the wheels individually rather than the whole unit. By doing this, you can avoid and lower the chances of any significant damage done to the office chair.
Can I add extra attachments to my office chair?
It is dependent on the office chair you are working with. If it allows you to add extra attachments, then you are good to go. You can also exercise some creativity in this department, but it is not recommended as it may end up damaging your chair.
How will I know what tools I will need during the disassembling process?
All the tools are always listed in the manual that comes along the chair. In case you lost it or threw it away, then visit the manufacturer’s website and download that guide. Go through the manual and buy the necessary tools at the local hardware shop.

